Wondering how the LinkedIn chat works with those nice little suggestions corresponding to your and your peers’ messages? Well, wonder no more. In this article, we are going to build just that. For this tutorial, we will be using Flutter, one of the most famous cross-platform mobile app development frameworks. And there is more to that since we will be learning technologies such as Firebase, Radar, Google ML Kit, and more…
If you love video tutorials more, I got you covered. Watch the video below for complete implementation, and let’s build this project together!
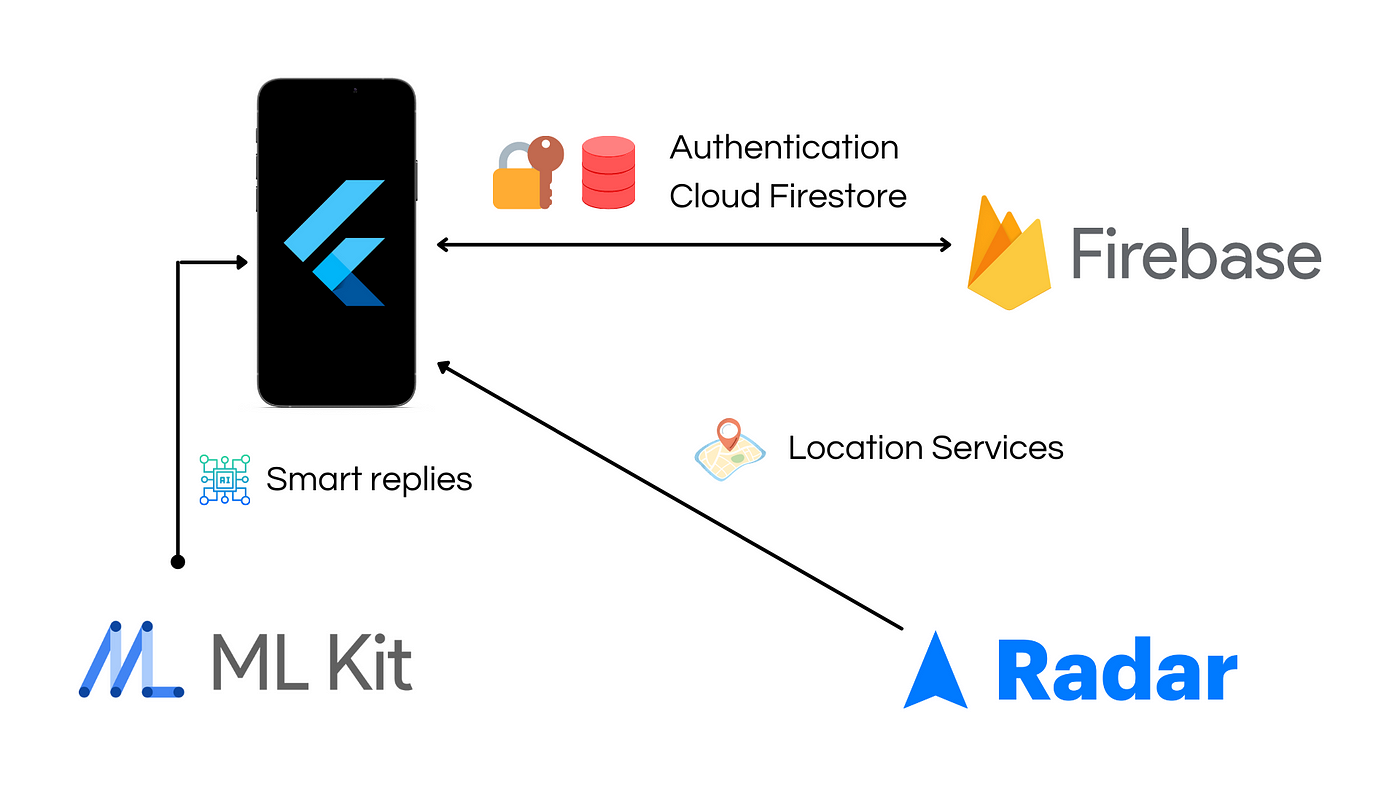
Firebase is Google’s flagship product for application development. Technically, it is a backend as a service (BaaS), which means we get most of the commonly used backend functionalities out of the box, ensuring faster development cycles. We will use Firebase in our case for authenticating users — Firebase Auth and for its NoSQL database — Cloud Firestore.
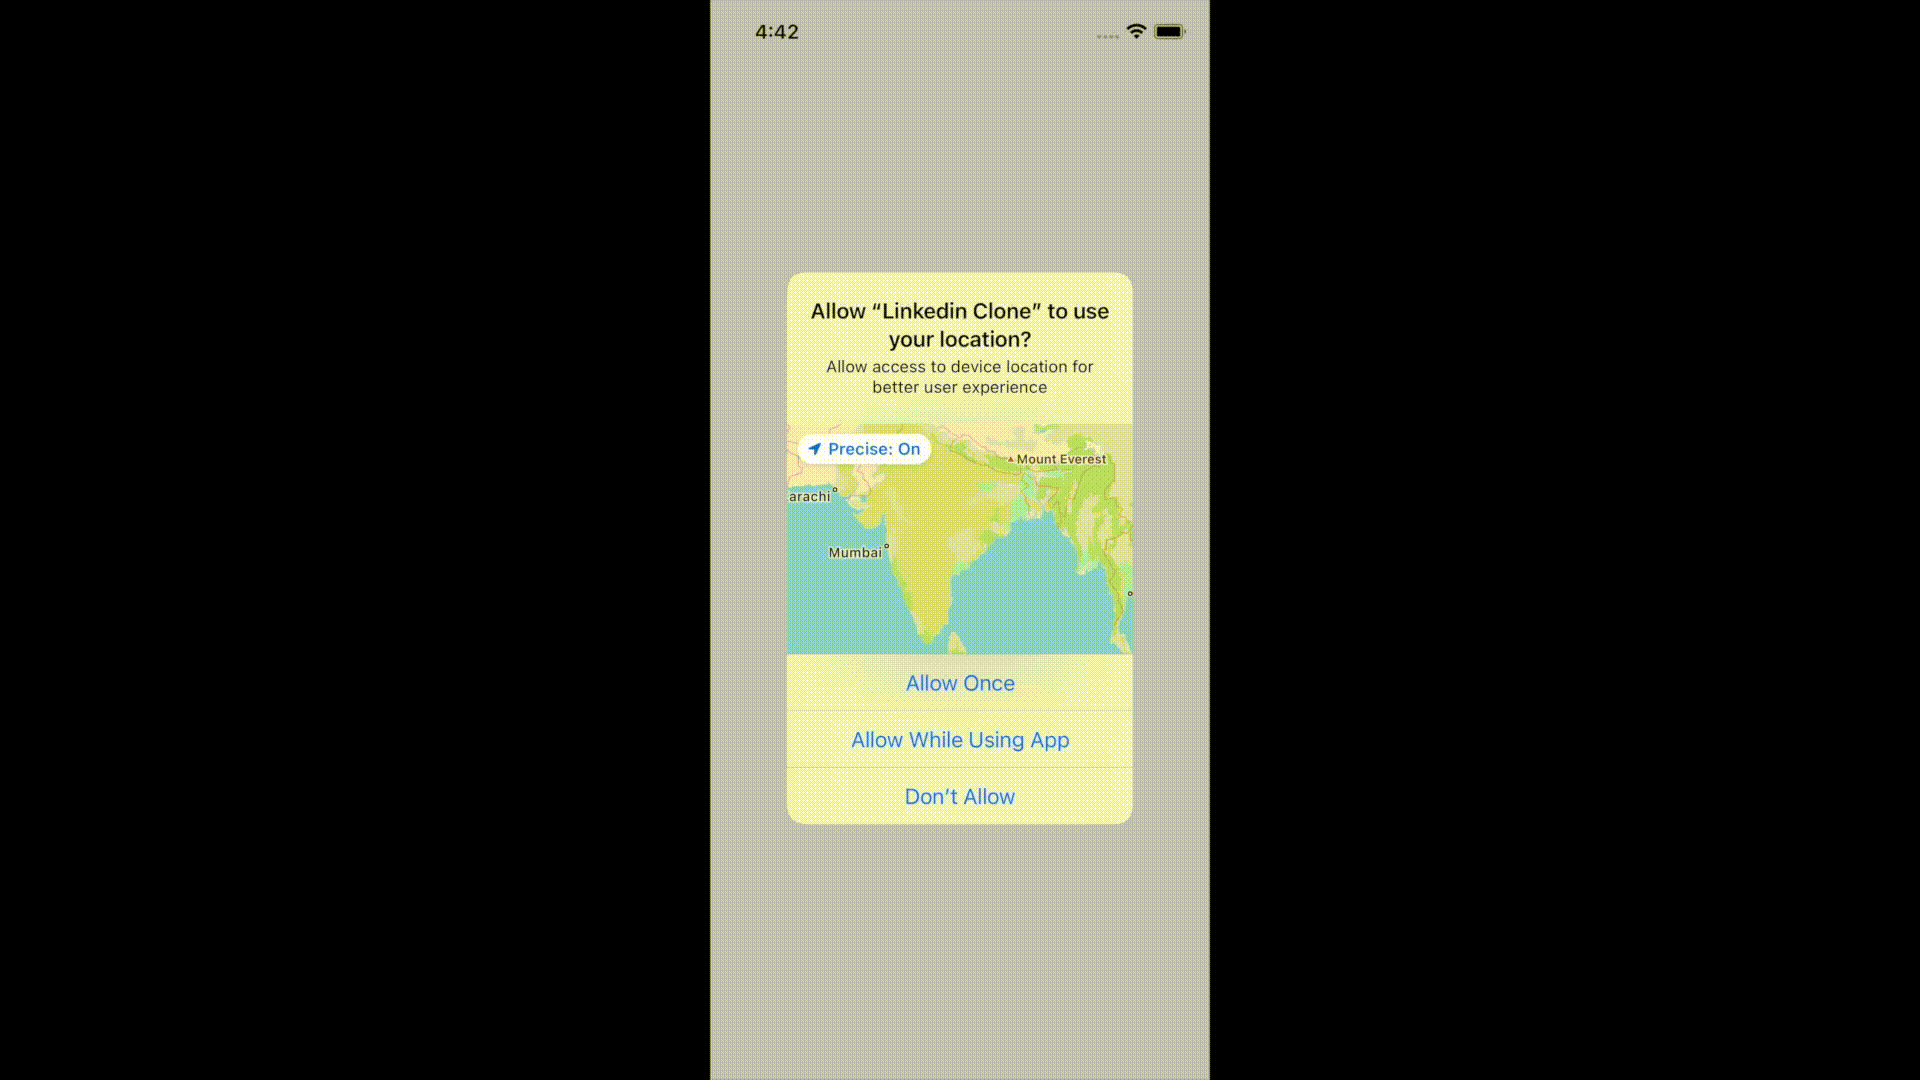
Radar is a famous location service provider that we will be using for its reverse geocoding APIs to fetch the address from the user location.
Google ML Kit provides many commonly used machine learning models as APIs for mobile applications — such as Vision APIs (Object detection, Selfie segmentation, etc.) and Natural Language APIs (Translation, Writing detection, Smart Replies, etc.). We will be particularly interested in the Smart Replies API. Let’s get started now and see how to use these.
tip
Did you know that we can also use Mapbox for reverse geocoding and other functionalities? It is as good as Google Maps, only cheaper. Here I talk about how we can use its navigation APIs to build an Uber-like application.
Getting Started
For easy onboarding, I have a starter application ready for you, which you can run with just a few changes. The application has a basic LinkedIn-like UI and a layout for the Chat feature, and we have already implemented Firebase and Radar. You can find the link to the GitHub repository below.
- GitHub
- Docusaurus
The changes you will need for running the initial application can be found in this documentation website that we have built using Facebook’s Open Source documentation tool — Docusaurus.
Once you have run the application, it will look like this —
 A 25 second GIF to show the how initial app looks before any changes are made
Building the Chat UI
Our chat UI will consist of 3 parts (and correspondingly 3 widgets) -
- User Info — the name and headline of the User
- Chat Window — a scrollable list of messages with user details and timestamp of the messages sent
- Chat Input — an input field using the
CupertinoTextField, and animated button to show additional options for adding images, GIFs, etc. Here, we will be offering the suggestions usingChipwidgets.
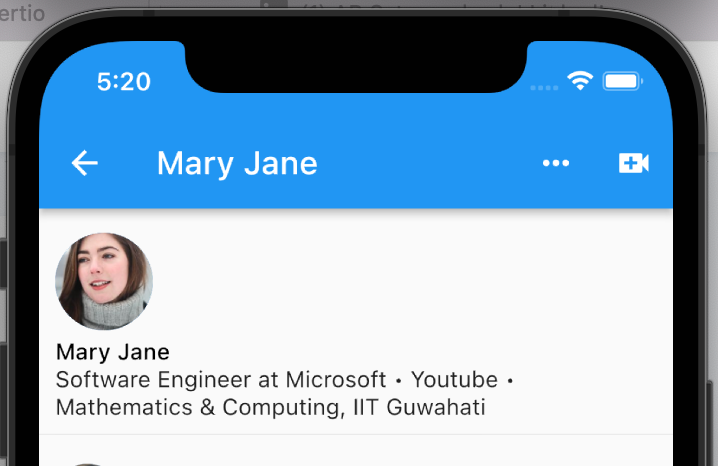
User Info
For building this section, we will use the app-wide state management we have maintained using Providers and MobX. To show the user name and headline, we simply need to use userStore.name and userStore.headline inside UI widget UserInfo(). This is what it will look like when done.
Chat Window
For building this we make use of a StreamBuilder, and listen to the stream:
FirebaseFirestore.instance.collection(groupChatId).doc(groupChatId).collection().snapshots()
Once we fetch the data from there (while listening to changes as well), we use ListView.builder() to render the data in descending order of time.
Widget buildListMessage() {
    return Expanded(
      child: groupChatId == ''
          ? const Center(child: CircularProgressIndicator())
          : StreamBuilder<QuerySnapshot>(
              stream: FirebaseFirestore.instance
                  .collection('Messages')
                  .doc(groupChatId)
                  .collection(groupChatId)
                  .orderBy('timestamp', descending: true)
                  .snapshots(),
              builder: (context, snapshot) {
                if (!snapshot.hasData) {
                  return const Center(child: CircularProgressIndicator());
                } else {
                  listMessage = snapshot.data!.docs;
                  chatStore.chatMessages = [];
                  for (int i = listMessage.length - 1; i >= 0; i--) {
                    chatStore.addChatMessages(listMessage[i].get('content'),
                        listMessage[i].get('idFrom'));
                  }

                  return Padding(
                    padding: const EdgeInsets.only(left: 10),
                    child: ListView.builder(
                      padding: EdgeInsets.zero,
                      itemBuilder: (context, index) =>
                          buildItem(index, (snapshot.data?.docs)![index]),
                      itemCount: snapshot.data?.docs.length,
                      reverse: true,
                      controller: listScrollController,
                    ),
                  );
                }
              },
            ),
    );
  }
We also make use of a helper function to know when to show the name and timestamp (or headers as I will call them), which are shown only if 2 consecutive messages are from different users. You can change the last part to your need, to design different UX. For instance you can go ahead and show headers whenever 2 messages differ by a specific time say 2 hours or more.
Chat Input
For building this, we use the CupertinoTextField, and whenever the input is submitted, we store the content to Firestore using the onSendMessage function inside ChatStore, which looks like this.
  @action
  void onSendMessage(String content, String groupChatId, String id) {
    if (content.trim() != '') {
      var documentReference = FirebaseFirestore.instance
          .collection('Messages')
          .doc(groupChatId)
          .collection(groupChatId)
          .doc(DateTime.now().millisecondsSinceEpoch.toString());

      FirebaseFirestore.instance.runTransaction((transaction) async {
        transaction.set(
          documentReference,
          {
            'idFrom': id,
            'idTo': peerId,
            'timestamp': DateTime.now().millisecondsSinceEpoch.toString(),
            'content': content,
          },
        );
      });
      listScrollController.animateTo(0.0,
          duration: const Duration(milliseconds: 300), curve: Curves.easeOut);
    }
  }
We also add an animated button. With its help and using the Visibility widget, we create this beautiful animation to toggle viewing of extra options to add images, GIFs, etc.
Love this article so far? Go ahead and follow me, and also remember to add yourself to my mailing list so that you get an email whenever I publish!
Showing Smart Replies
Now coming to the most interesting part, we will be using this plugin — smart_reply which makes use of the Google ML Kit Natural Language APIs to generate smart replies. The best part about this is that since these models run on device the results are much faster than if it were conventionally hosted on a server. This how the function to generate suggestions look like.
  void getSuggestions(messages) async {
    // Fetch suggestions using Google ML Kit and rebuild page
    List oldSuggestions = suggestions;
    suggestions = await const SmartReply().suggestReplies(messages);
    if (!listEquals(oldSuggestions, suggestions)) {
      setState(() {});
    }
  }
Note that here we are rebuilding the widget, if the older suggestions are different from the newer suggestions (this way we ensure that the rebuilding is more efficient). The suggestions are generated as an array of Strings with size at max 3. We then make use of these as content for the chips, and we call the same function onSendMessage as before, whenever the chips are tapped to send the message. The final result looks something like this (click on the link below for the video) —
info
Check out the post I made on LinkedIn along with the video here!
Conclusion
And just like that we have implemented a LinkedIn like Chat which also supports Smart Replies. The good part about this is we can replicate the steps in this tutorial, to any other project as well, where you might wanna use the Chat feature (and optionally the Smart replies feature). In brief, this is how the final implementation looks like —
Feel free to reach out to me for any questions or suggestions that you might have. You can follow me on these social media platforms — LinkedIn, YouTube, Twitter, Instagram for more updated content!
As always! Happy Hacking! 😇
Join my email list for more awesome tutorials and programming blogs ❤️